Creating a Google app
Documentation for version: 2.13.9
1. Login to https://console.cloud.google.com/ with a Google account which has access to the images you want to display on your webpage.
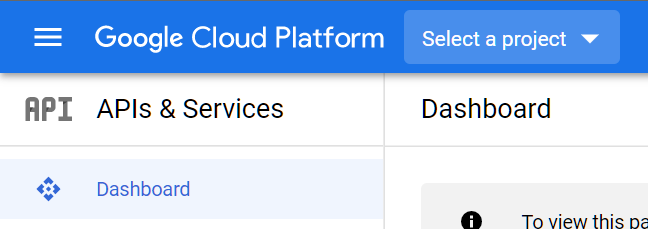
2. In the top bar, press „Select a project“.
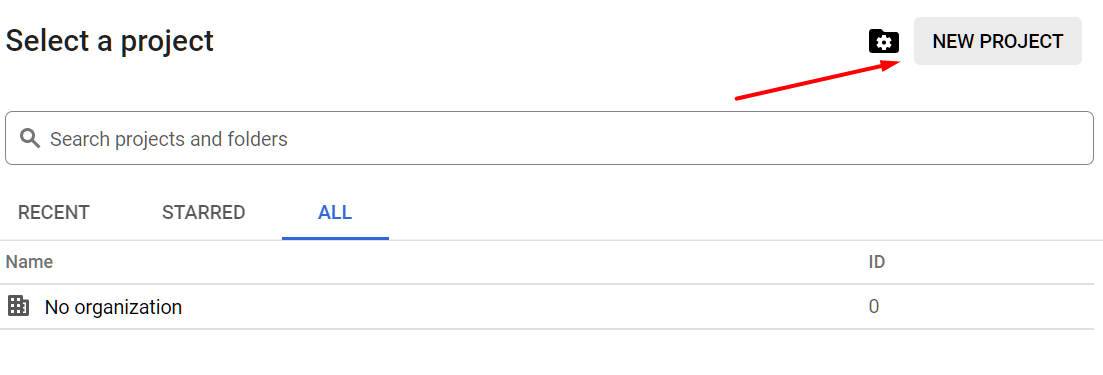
3. You will see a modal window. In the top right, press the „NEW PROJECT“ button.
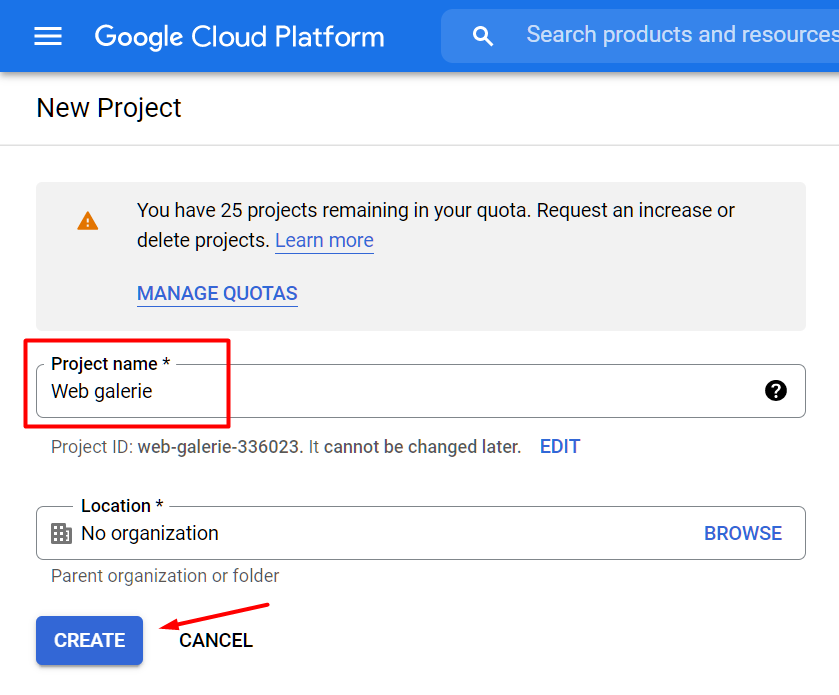
4. You will see a „New Project“ page. Enter the name of your app (can be something like „Web gallery“) and press „Create“. Later on, you will use this name to identify your Google app.
5. In the top bar, press „Select a project“ and select your newly created project.
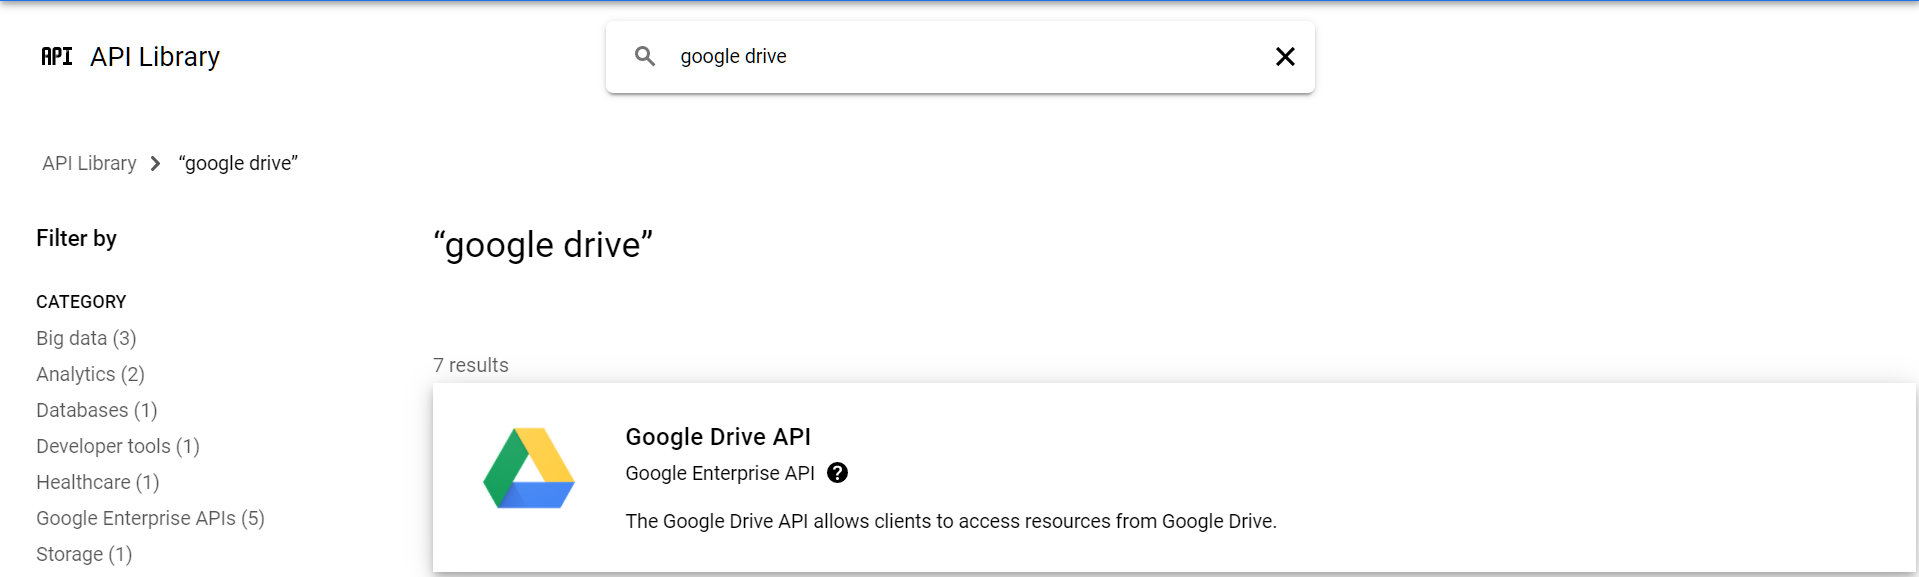
6. In the left menu, press „Library“ which will show you all the APIs that can be enabled.
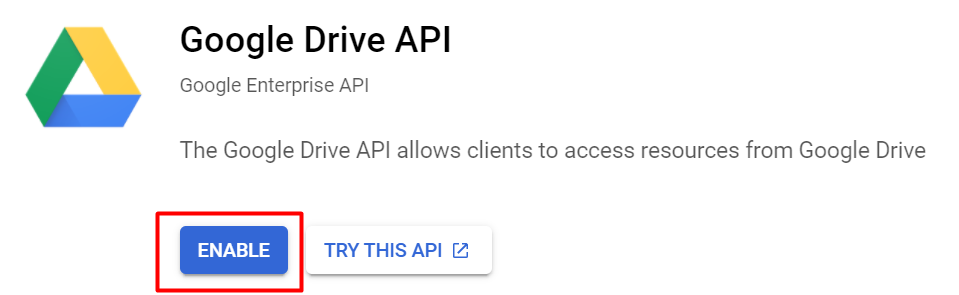
7. Find the Google Drive API tile and press it.
8. In the API settings, click „ENABLE“ and wait for the page to reaload and the API to enable.
9. In the left menu, press „Credentials“
10. Click on the „CONFIGURE CONSENT SCREEN“ button.

11. In the User type, select „External“ and click on „CREATE“. Enter the name of the application in „App name“ (only you will see it). Write your email in „User support email“ (it will not be used anywhere). Then scroll down to the „Authorized domains“ section and type all the links you see on your website on the „Google Drive Gallery → Basic Settings“ page. Finally, in the „Developer contact information“, fill in the email again in the „Email addresses“ field. Then just click on „SAVE AND CONTINUE“
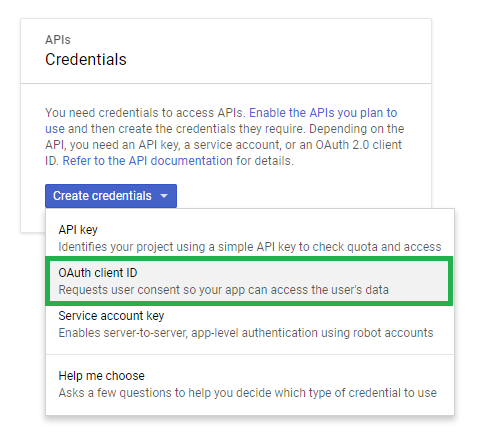
12. After saving, you will be sent to the first tab, „Credentials“. Press the blue button „Create credentials“ in the middle of the page and choose „OAuth client ID“.
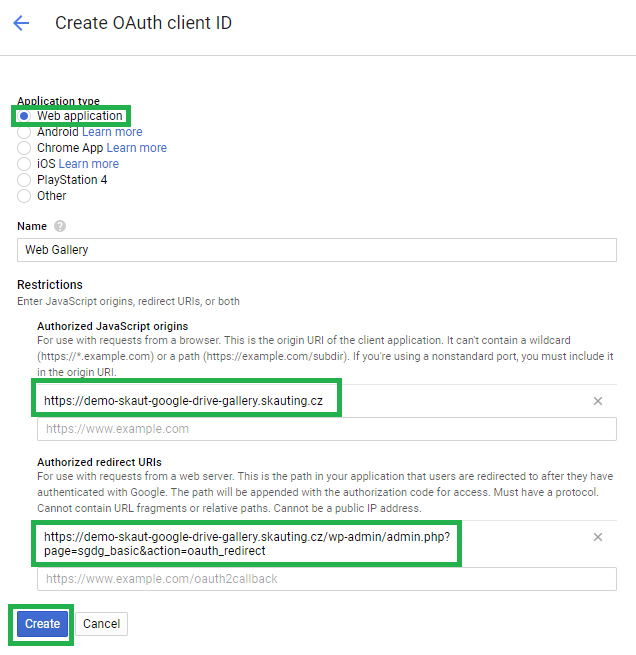
13: In the second step, you need to fill in several fields.
- Application type: Web application
- Authorized JavaScript origins: You can find this value on your webpage in the administration in the „Google Drive gallery → Basic options“ tab .
- Authorized redirect URIs: You can find this value on your webpage in the administration in the „Google Drive gallery → Basic options“ tab.
Press „Create“.
14. You will see a modal window with the text Here is your client ID and Here is your client secret.
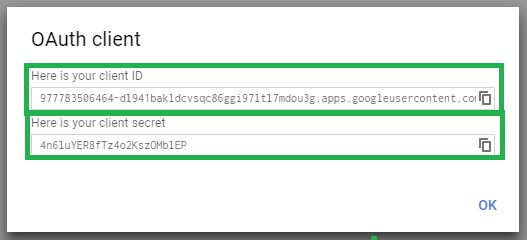 Copy these values into the respective fields in the administration of your webpage in the „Google Drive gallery → Basic options“ tab (add /wp-admin/admin.php?page=sgdg_basic to your webpage url).
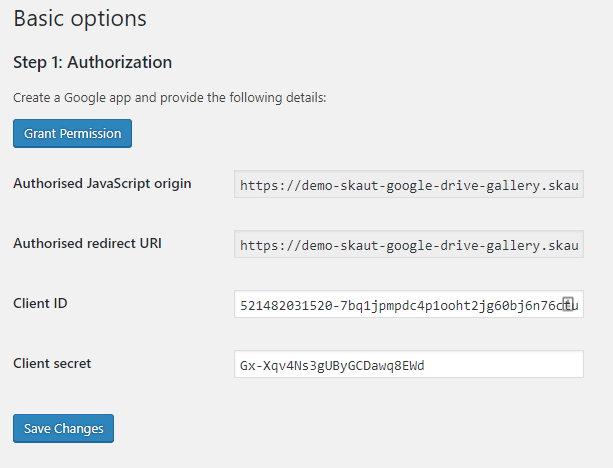
15. Press „Save changes“ and then „Grant permission“. You will be redirected to a Google login page. Login with the account used to create the Google app and grant the required permissions. You will then be redirected back to your webpage.
If everything goes well, all the fields in Step 1 will be greyed out.